 |
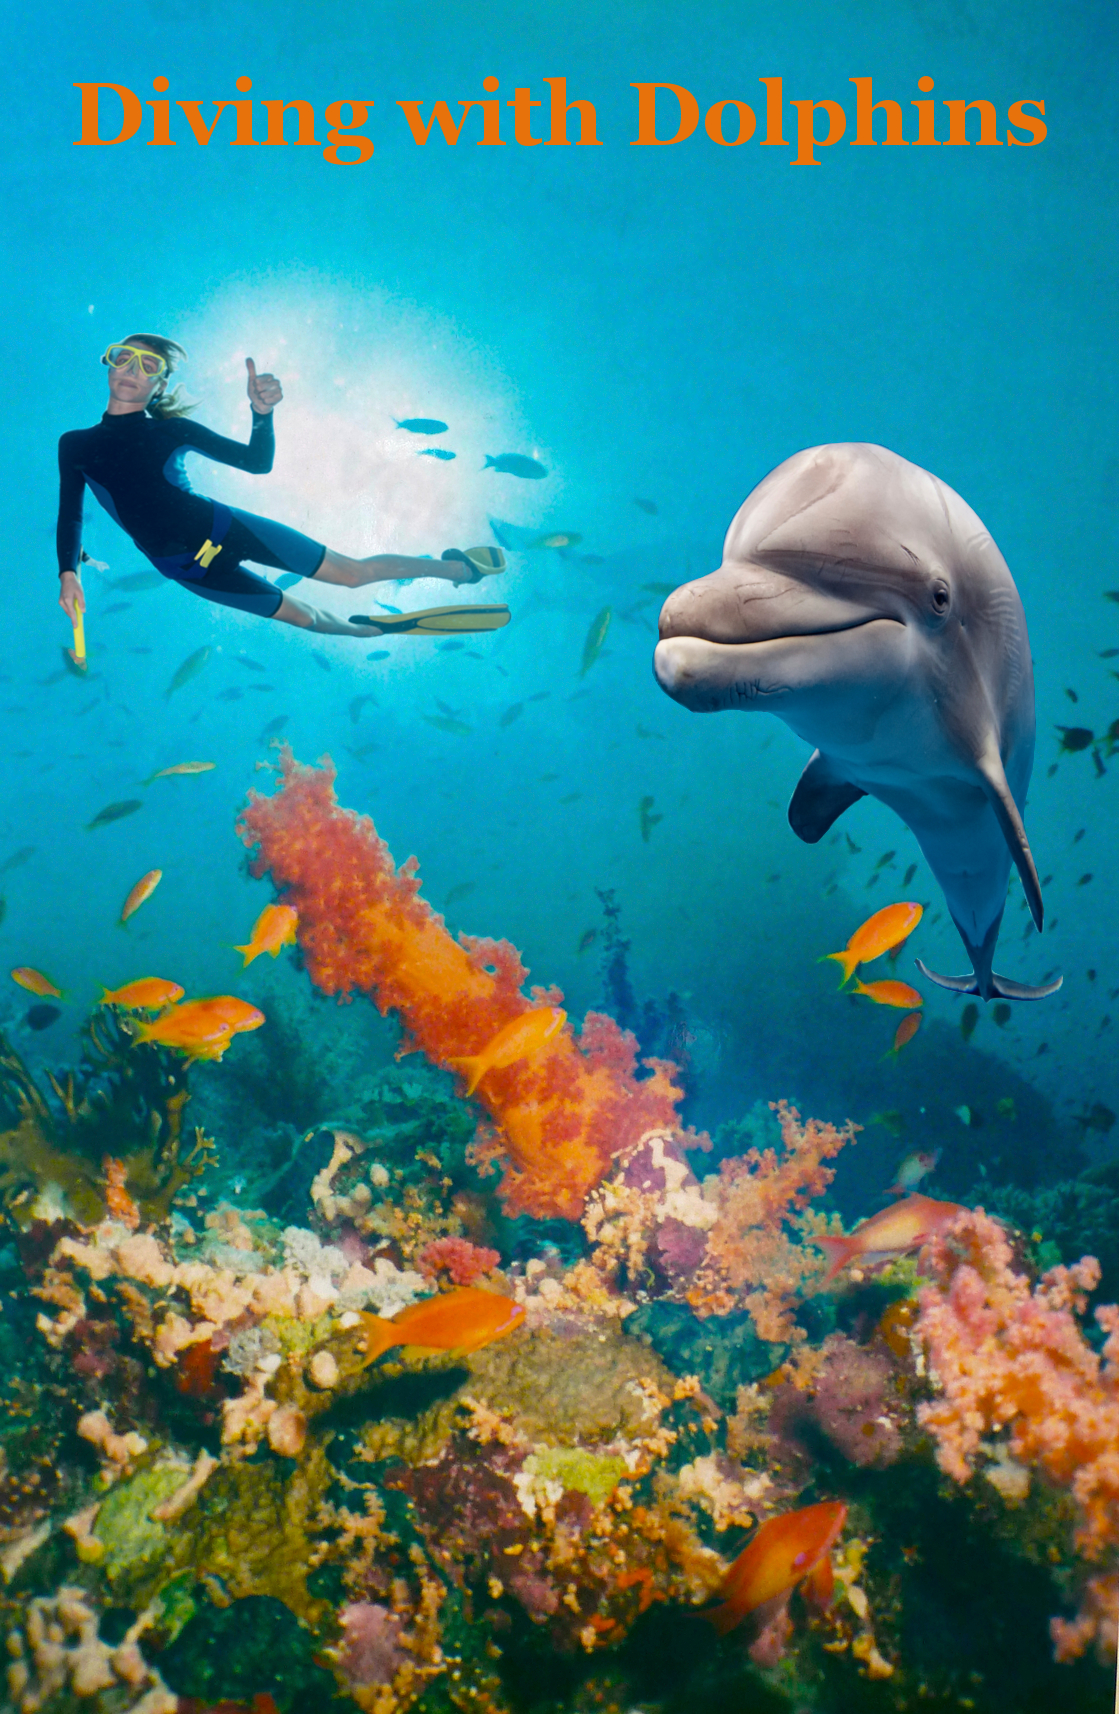
One of my most memorable adventures was diving with wild dolphins in the Bahamas. I've often thought about writing a book about it and I suppose there's no better place to start than the cover. The photo of the coral reef that I used as a backdrop is angled facing upward toward the sun. Fortunately, I found a photo of a diver taken at the same angle, so I was able to use the similar lighting advantageously in the image placement of the diver. First, I saved the coral reef backdrop photo as a layer. Then I imported the picture with the diver and zoomed in to 200%, cutting out the shape of the diver using the lasso tool. I pasted the diver into the background image and used the scale feature to get the sizing right. I followed basically the same procedure with the dolphin image from a third photo. I really took my time with the lasso tool so there was little need to edit, blend or make further adjustments. Then I added the title text using the font feature, resized the text and adjusted the color to orange to match the color of the reef sponges, which gave color balance to the overall design. Not having any prior experience with GIMP, or any other image editing tool, I found this exercise to have a rather steep learning curve. GIMP appears to be a feature-rich product with advanced features that I'm not familiar with yet. I did enjoy learning how to edit images and look forward to gaining more experience with this product. |
 |
I wanted to create a simple icon to use as a branding logo, like the Apple or Nike icon, which imparts instant name recognition. Basically, my logo consists of a green square containing the letter "e" representing e-learning, and a blue mortarboard. Even though the logo is simple in design, it took me a couple of hours of trial-and-error to get it right. Creating the blue mortarboard was a challenge because, for the longest time, I couldn't figure out how to create a parallelogram and rotate it. At first, I tried the square tool, and then the 3D box tool, adjusting it to get the angles where I wanted them. I even pulled the object apart into its components, but just couldn't make the angles work. So I went back to square one, created another square, adjusting the fill and stroke to get the right shade of blue. Eventually, I discovered that if I double clicked inside the square, the rotation arrows appeared around the perimeter and I could rotate it. Then by escaping and clicking again within the square I could elongate the mortarboard to the appropriate size. I tried to freehand draw the tassel several times but my hand wasn't steady enough to create a decent image. I used the circle tool to create a small ellipse, which worked perfectly. I created another square and adjusted the fill and stroke to get the appropriate shade of green. Then I inlaid the "e" using the font tool, clicked on the white color in the palate bar and adjusted the font size to 300 points. I tried various fonts to get the right look and then moved all of the individual components together and voila! |